How to Erase/Delete Junk Mails on Mac
Junk mails eat up a lot of space on your Mac. Learning how to erase all junk mail on Mac helps remove unwanted content, free up space, improve performance, and secure confidential data.
Part 1: How to Erase an Email in Mac Mail
If you have recently turned to macOS, then understanding the procedure to erase the Mac mail emails is essential.
Junk mails consume a lot of space. Rather than deleting a single mail by mail, you should know the procedure to remove most of the mails at the press of a few keys.
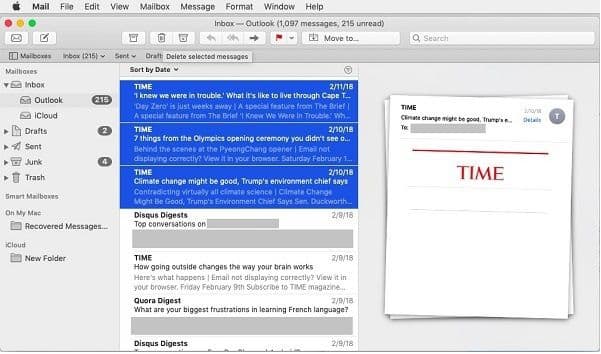
- Open the "Mail" app.
- Press and leave the finger of the "Command" key.
- Choose the emails that you want to erase from the mail.
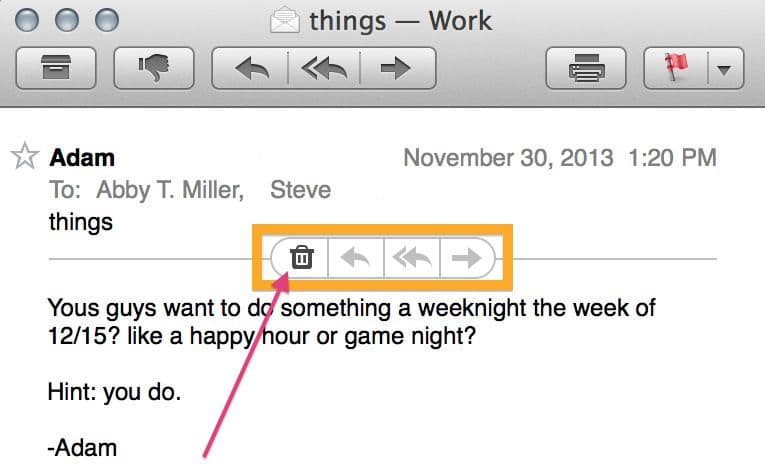
- Press the "Delete" key using the cursor (it is the "Trash" symbol).
Part 2. How to Erase All Junk Mails on Mac
Learning how to delete Mac junk mails will help you keep your mail free from unwanted and spam emails. Configuring the mail settings will help you delete the mails automatically. Follow the steps below to change the settings and free up your junk folder:
- Open the "Mail" app on the Mac.
- Choose "Mail" and select "Preferences" from the menu bar.
- From the header, select the "Accounts" tab.
- From the left pane, select an account for which you like to set the configuration.
- Select "Mailbox Behaviors" from the right side.
- Confirm the "Junk Mailbox".
- Below the option, you will notice the option "Erase junk messages". From the drop-down box menu, choose when you like to clear the junk folder. It can be daily, weekly, or monthly. You can also set it to "When quitting mail" so that the Mail app will automatically delete the junk folder content each time you exit the application.
- Repeat steps 4 and 5 to confirm the mailbox.
- Repeat the steps stated above for all the mail accounts you created in the "Mail" app. However, depending on the email account, you may not view many of the options. Fortunately, you can still see the timeframe to delete the messages.
Part 3. How to Block Junk Mails by Block Senders in Mail on Mac
You have learned how to erase junk mail on Mac. What if you had the opportunity to block only a few senders? The steps discussed here help block a few senders on Mac. You can, thus, relieve space and do not have to indulge in manual cleaning of all the junk mails.
- Open the "Mail" application and head to the "Preferences" by clicking the menu bar.
- Click the "Rules" tab from the menu and choose the "Add Rule" feature.
- The rule applies to any of the conditions set according to the fields in the "From" and "Contains". Input the email address of the sender that you want to block in the "Contains" field.
- Under the "Perform the following actions", choose the "Delete Message" feature.
- You can enter a description of the new rule. It will help you remember the users that you blocked.
- Click on "OK" to exit the window.
Part 4. How to Retrieve Deleted Emails on Mac from Apple Mail
There is a possibility that you deleted an email or a few emails accidentally on your Mac. In such cases, you can recover them using two methods: using iBeesoft file recovery software and using Time Machine.
Method 1: How to Recover Deleted Emails with iBeesoft Data Recovery
iBeesoft Data Recovery for Mac is an excellent program, as it uses the latest technology and algorithms that scan and retrieve deleted content with ease. No matter under what circumstance you lost the data or files, you can use the software to get back in a few simple clicks.
Guide to Use iBeesoft Data Recovery to Recover Deleted Emails
Download and install the software before proceeding with the following steps.
- Upon starting the software, you will notice the different file types it can recover. You can check all or choose the ones that you require and press the "Start" button.
- You must select the scan location from the next window. The software will show all the partitions of the hard drive, including any externally connected storage devices. Select the required partition and press the "Scan" button to recover deleted emails on Mac.
- After completing the scan, iBeesoft Data Recovery will show all the recoverable files. You can select a folder from the left pane to view the files and click a file to view the content as a thumbnail preview. You can mark the required files and press the "Recover" key to retrieve and save. Choose a folder on your computer to save the recovered files.
Method 1: How to Restore Deleted Emails with Time Machine
You can use the Time Machine to retrieve deleted emails stored locally.
- Click the "Enter Time Machine" from "Finder".
- Open the "Library" folder and select "Mail".
- There will be several folders. Scroll down and select the folder that starts with "V".
- You will see hexadecimal names within the folder. Open each one until you have the right mailbox.
- Restore the file containing the missing mailbox to a different path or desktop.
- Exit Time Machine.
- Open "Mail" and click "File" and select "Import Mailboxes".
- Choose Apple Mail and continue.
- Select the recovered Mbox file and press the "Choose" button. Click "Continue".
- Look at the left side under "On My Mac", and the imported folder will be at last. Choose it, and you will see all the messages if imported correctly.
- Re-create the deleted mailbox.
- From the "Import Mailbox" folder, choose the required messages and drag them to the mailbox.
Part 5. Tips: How to Keep Mac Performance Well
Cleaning Mac from time-to-time and erasing unwanted files helps boost the performance of the Mac. Using iBeesoft iCleaner for Mac enables you to remove junk files from your Mac and boost performance. You can likewise set an automatic cleanup schedule that helps the software to erase unwanted content with ease. Additional features include:
- Removing system/application/user junk, mail attachments, and spotlight indexing files.
- Erases global temp files, bash history, or downloads in the download folder.
Download iBeesoft iClear for Mac to have a try now!!!